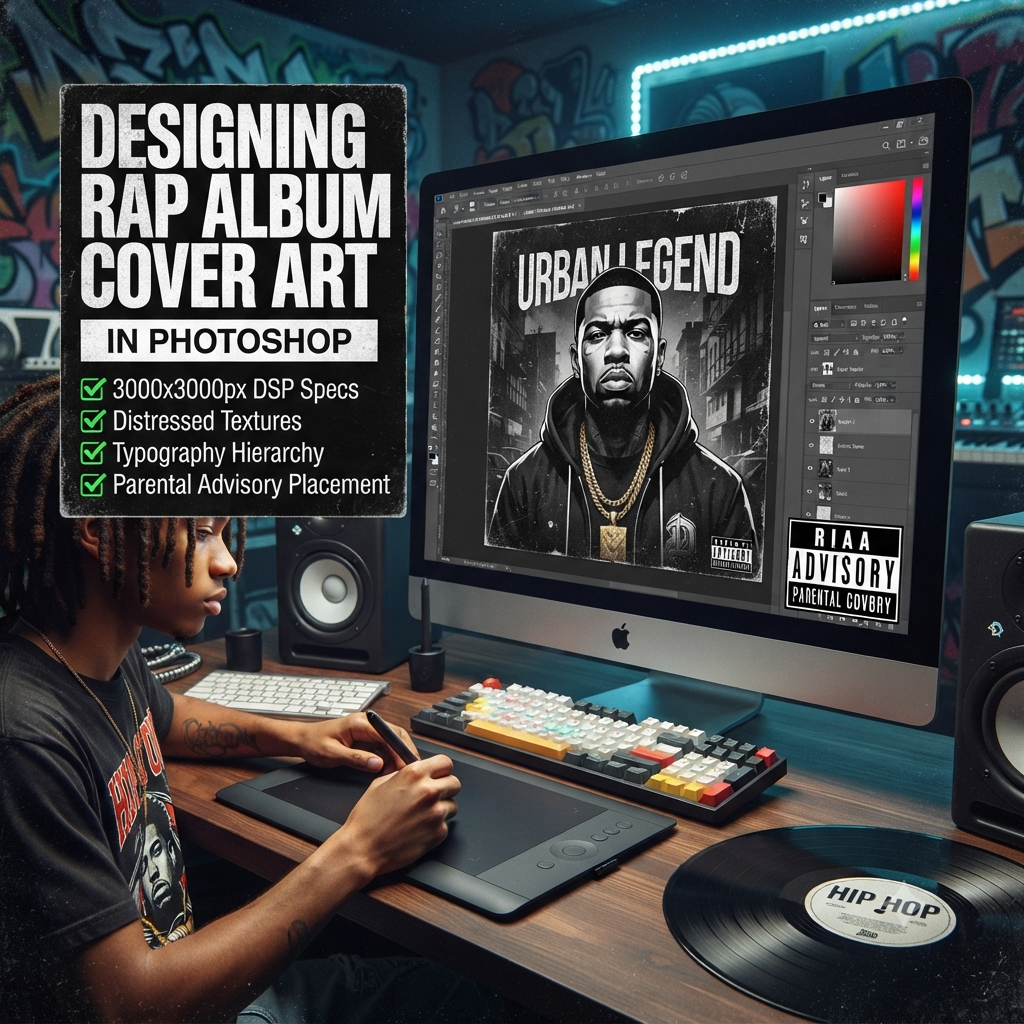
How to Make Rap Album Cover Art in Photoshop: The Ultimate DSP & Parental Advisory Guide
Let’s be real for a second. You spent weeks—maybe months—fine-tuning your 808s, mixing the vocals until they cut through the monitors, and writing bars that actually mean something. But the moment you drop a track or an album, what is the very first thing people see?
The cover art.
If your artwork looks like it was thrown together in five minutes using a blurry phone photo and some basic phone app text, listeners are going to scroll right past it. In hip-hop, your cover art is your visual handshake. It needs to telegraph your sound, your aesthetic, and your budget before a single note even drops.
Learning how to make rap album cover art in Photoshop that actually passes DSP quality checks (and catches a listener’s eye on a tiny smartphone screen) takes more than just slapping a trendy filter on a portrait. It requires nailing technical specs, building authentic grit with textures, setting up clean typography hierarchy, and placing that official Parental Advisory badge like a pro.
Let’s walk through how to build a cover art piece that looks like it belongs on the Billboard charts.
Step 1: Setting Up Your Canvas for Streaming Giants
Before you get lost in creative design work, you need to set up your Photoshop document right. If your dimensions or color profiles are off, distributors like DistroKid, TuneCore, or CD Baby will flag your upload instantly, delaying your drop day.
Streaming platforms like Spotify and Apple Music are picky about technical standards because your art needs to look razor-sharp on everything from an old smartphone to a 65-inch smart TV.
-
Fire up Photoshop and hit File > New (
Ctrl+N/Cmd+N). -
Set your Width and Height to exactly 3000 Pixels by 3000 Pixels. This gives you a strict 1:1 square canvas.
-
Crank your Resolution up to 300 Pixels/Inch (DPI). Even though digital streams live on screens, 300 DPI gives you deep pixel data to play with, preventing compression artifacts and keeping your file ready if you ever want to press vinyl or CDs.
-
Set your Color Mode to RGB Color (8-bit) and ensure your color profile is sRGB IEC61966-2.1. Never design or export your cover art in CMYK; streaming platforms will misinterpret the color space and wash out your vibrance.
-
Hit
Ctrl+R(Cmd+Ron Mac) to turn on your rulers, and drag guide lines inward to create a 150px safe zone around all four edges. Keep your song titles, artist names, and key facial features inside this box so they don’t get sliced off by the rounded UI corners of streaming apps.
The Rap Cover Art DSP Specs Checklist
| Specification | Target Standard | Why It Matters |
| Canvas Size | 3000 x 3000 px | The gold standard minimum for Apple Music and Spotify |
| Aspect Ratio | 1:1 Square | Non-square files get immediate rejection flags |
| Resolution | 300 DPI | Keeps textures and fine details crisp on Retina screens |
| Color Space | sRGB | Prevents weird color shifts when uploaded to the web |
| File Format | High-Res JPG or PNG | Preserves fine grain without bloated file sizes |
Step 2: Adding Depth and Grit with Distressed Textures
If you look at the best rap covers of the last decade—from gritty 90s boom-bap cassettes to moody dark trap masterpieces—they all share one common trait: tactile grit.
Clean digital gradients look sterile and cheap. To give your cover that authentic, lived-in feel, you need texture.
-
Start with a Strong Subject: Drop your main focal element into the canvas—whether that’s a high-contrast artist portrait, a gritty 3D render, or a stark symbolic object. Use Photoshop’s Camera Raw Filter (
Shift+Ctrl+A) to boost contrast, lower blacks, and dial in your mood before moving forward. -
Layer in the Dirt: Download or scan high-resolution vintage paper, folded cardboard, distressed cardboard boxes, or worn vinyl sleeves. Drag that texture right to the top of your layer panel.
-
Play with Blend Modes: Change your texture layer’s blend mode from Normal to Screen (if your texture is a dark background with white dust/scratches) or Multiply (if it’s a light paper scan with dark creases and ink bleeds).
-
Dial Back the Opacity: Drop that texture layer down to 25%–45% opacity. Add a clipped Levels adjustment layer right above the texture to crush the blacks or blow out the highlights until the grit feels integrated into the image rather than just slapped on top.
Pro Tip: Never let heavy texture obscure your main subject’s eyes or muddy up your text. Grab a soft black brush on a layer mask attached to your texture layer and gently paint away the scratches right where your artist’s face sits.
Step 3: Mastering Typography Hierarchy for Mobile Screens
Here is a harsh reality check: over 80% of your fans are going to look at your album artwork for the very first time as a tiny, thumbnail-sized image on their phone while scrolling through a playlist.
If your typography is messy or cluttered, your album title becomes unreadable noise.
-
Focus on the Title First: Your release title should be the visual anchor of the text. Lean into heavy, condensed sans-serifs (like Druk or Helvetica Bold), gritty brush fonts, or sharp serif display typefaces. Make sure it stands out against the background with high contrast, subtle outer glows, or drop shadows if needed.
-
Scale Down the Artist Name: Your artist name should sit comfortably around 30% to 50% smaller than the title. Keep it clean—either centered right above the title or tucked neatly in a corner.
-
Watch Out for Amateur Mistakes: Never clutter your cover with social media handles (
@yourname), website URLs, release dates, streaming service logos, or “Out Now” stickers. DSPs actively flag and reject covers that look like promotional flyers rather than legitimate album art.
Once your art looks polished and professional, don’t let the momentum stop with a static image. Pair your striking cover artwork with official audio visualizers promoted through our urban video promotion services to capture attention on YouTube and TikTok.
Step 4: Sizing and Placing the Parental Advisory Label Correctly
If your project has explicit lyrics, adding the official RIAA Parental Advisory Explicit Content label isn’t just a legal checkbox—it’s an iconic staple of hip-hop aesthetic culture. But squishing, stretching, or misplacing the badge is an instant giveaway of amateur design work.
-
Grab a Vector File: Always hunt down a crisp, high-resolution vector or clean PNG of the official Parental Advisory logo. Never steal a blurry, pixelated JPEG straight off Google images.
-
Never Distortion-Stretch It: Hold down
Shiftwhen scaling the badge so you don’t accidentally squash or elongate the rectangle. Keep its proportions mathematically pristine. -
Nail the Scale: On a 3000x3000px canvas, size your badge to roughly 350px to 450px wide (about 12% to 15% of the total cover width). Make it too small and it disappears on phones; make it too big and it steals the spotlight from your art.
-
Stick to Standard Placement: The universal industry standard is the bottom-right corner (aligned cleanly with your 150px safe margin guide). Bottom-left works too, but bottom-right is what every major label uses.
-
Protect Contrast: If the bottom-right corner of your cover is pitch black, wrap a clean 2px–4px white border around the badge (or use the official white-background variant) so the edges don’t disappear into the background.
Step 5: Exporting Like a Professional
Before you save your final file, zoom your Photoshop window all the way out to 12.5% view. squint your eyes. Can you still read the title? Does the subject pop? Does the layout feel balanced?
If it passes the squint test, go to File > Export > Export As, select JPG at 100% Quality (or high-res PNG-24), double-check that Convert to sRGB is checked, and hit export. You are now officially ready to upload your track to your distributor.
Ready to Push Your Next Hip-Hop Release?
Great cover art stops the scroll, and a high-energy visual keeps fans locked in. Submit your link on our official Music Video Submission Page to get your music video or visualizer featured in front of real hip-hop fans and tastemakers.