The 30-Piece Content Batching Framework: How to Promote Your Next Music Release Without Burning Out
Dropping a new track or music video is an incredible milestone. You’ve spent months in the studio, dialed in the mix, finalized the master, and poured your soul into the visual. But once the audio file is uploaded to DistroKid and the video is sitting on YouTube, reality sets in: now you have to market it.
If you’re like most independent artists, the post-release marketing scramble feels exhausting. You stare at a blank screen wondering what on earth to post today on TikTok, Instagram Reels, and YouTube Shorts. You post once, get a handful of views, feel defeated, and skip the next three days. Before you know it, the momentum of your release has flatlined, and your hard work gets buried under the algorithm.
Here is the hard truth: most artists don’t fail because their music isn’t good enough. They fail because they rely on daily, spontaneous content creation. Trying to think of creative, high-performing video ideas while managing everyday life is a fast track to creative burnout.
The secret to a sustainable, high-impact music release isn’t posting more—it’s content batching.
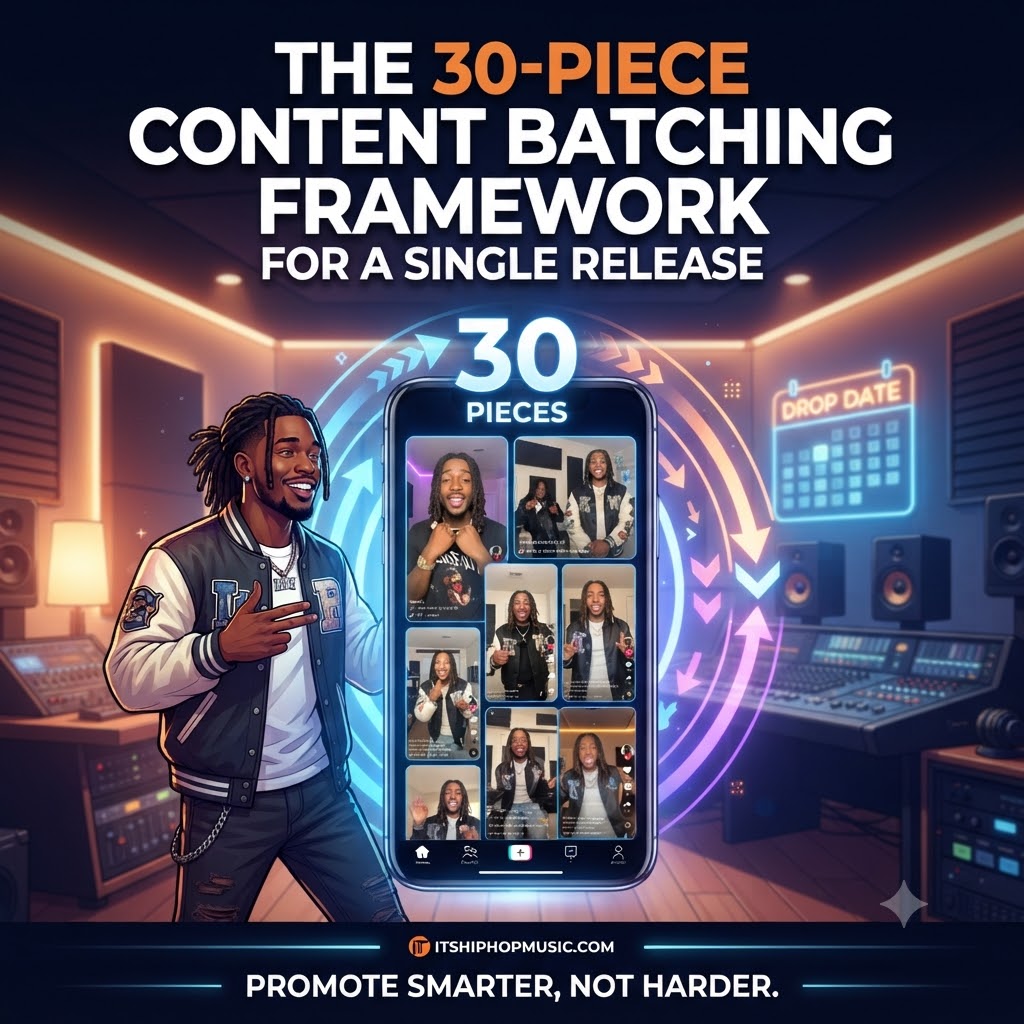
In this comprehensive, step-by-step guide, we’re breaking down The 30-Piece Content Batching Framework for a Single Release. By dedicating just one single day to production and editing, you can generate 30 pieces of targeted short-form video content, perfectly scheduled to fuel a high-momentum 6-week rollout. Let’s dive in.
Why Daily Content Creation is Killing Your Music Career
Before we look at the solution, let’s diagnose the problem. If you try to film a promotional video every single day, you are constantly forcing your brain to switch contexts. One minute you’re answering emails, the next you’re trying to look energetic and charismatic on camera, and ten minutes later you’re back to mixing vocals.
Context switching destroys productivity and kills creative flow.
When you batch your content, you enter a singular production mindset. You set up your lighting once, get in the zone, and knock out weeks of content in a single afternoon. Not only does this save you hours of precious time, but it also ensures your branding, lighting, and energy remain consistent across your entire rollout window.
Step 1: Schedule Your Dedicated Shoot Day (6 to 8 Weeks Out)
Timing is everything in music marketing. Trying to film promotional content the week your single drops is a recipe for panic, rushed edits, and low-quality output.
-
The Timeline: Lock in your shoot day 6 to 8 weeks before your official drop date. This gives you ample breathing room to edit, organize, review, and schedule everything without feeling rushed.
-
The Commitment: Clear out a single half-day or full-day. Treat this like an official studio session. Turn off your phone notifications, set up your tripod, make sure your lighting looks clean, and protect your creative space.
Step 2: Batch-Shoot Your Video Clips (Do Not Edit Yet!)
When you step in front of the camera, your only job is to capture raw footage. Do not stop to edit clips as you go. Editing while filming completely shatters your momentum.
To build a well-rounded marketing machine, break your shoot down into specific content buckets designed to capture different viewer psychologies:
1. The 5 Hook Lip-Sync Clips
Film yourself lip-syncing to the most high-energy, catchy section of your song—usually the chorus or a heavy hook. To keep things interesting for viewers later, change your jacket, swap your hat, or shift to a different room or outdoor angle between takes. This gives you distinct variations of the same audio snippet.
2. The 3 Lyric Reveals
Record yourself reacting to or dramatically lip-syncing specific hard-hitting bars, clever punchlines, or emotional lines from your song’s lyrics. Hip-hop and pop fans love sharing videos that highlight clever writing. Let the words do the heavy lifting.
3. The 2 Studio Breakdowns
Talk directly to the camera like you’re talking to a close friend. Explain how you recorded the beat, share a funny behind-the-scenes story about writing a specific line, or show your project session open on a laptop screen. Fans crave authenticity, and pulling back the curtain builds instant loyalty.
4. The 3 Story-Behind-the-Song Takes
Share the emotional or personal inspiration behind the track. What were you going through when you wrote it? What inspired the melody? Raw, vulnerable storytelling connects deeply with listeners who want to feel a personal bond with the artist they support.
*(Pro-Tip: By capturing these diverse core files and creating slight variations in pacing or text overlays later, you will easily multiply your raw assets into a robust 30-piece content library.)
Step 3: Organize Your Raw Assets by Platform Type
Once your camera roll is full, export your footage to your computer and set up a clean folder structure. Organization is the unsung hero of a smooth workflow.
Create clear folders categorized by destination platform so you aren’t guessing where things go during editing:
-
/TikTok/ -
/Instagram-Reels/ -
/YouTube-Shorts/
Drop your raw clips into their respective folders based on platform trends, safe zones, and aspect ratios. Keeping things tidy here will save you hours of frustration down the road.
Step 4: Batch-Edit in Waves
Now that your media is organized, switch from your “creator” hat to your “editor” hat. Editing in bulk keeps your creative rhythm locked in:
-
Add Captions & Text Overlays: Use auto-caption tools to generate dynamic, eye-catching subtitles. Add a punchy text hook on the first 3 seconds of the video to stop the scroll (e.g., “When the beat drop hits different” or “The real meaning behind this lyric”).
-
Optimize Audio Hooks: Ensure your track’s audio is crisp, mastered, and peaking correctly for social playback. Sometimes boosting the low-end slightly helps short-form audio pop on phone speakers.
-
Export Clean Files: Save your finalized vertical videos (9:16) directly back into your organized folders, ready for deployment.
Step 5: Schedule 30 Pieces Over a 6-Week Window
Consistency beats sporadic bursts of intensity every single time. Instead of dumping all 30 videos in 48 hours and disappearing for a month, distribute your content strategically across a 6-week rollout window (averaging about 5 posts per week).
-
Pre-Release (Weeks 1–2): Build anticipation using your story-behind-the-song takes and early studio breakdowns. Get people invested before the song even drops.
-
Launch Week (Weeks 3–4): Hit hard with high-energy hook lip-syncs and lyric reveals across TikTok, Reels, and Shorts. This is when conversion traffic matters most.
-
Post-Release & Sustained Momentum (Weeks 5–6): Keep the flame alive by sharing alternative visual cuts, fan interaction prompts, and gentle reminders to stream the track on Spotify and Apple Music.
Load your finished videos into a trusted social media scheduling tool (such as Buffer, Metricool, or Meta Business Suite) and let automation handle the heavy lifting.
📈 Level Up Your Music Promotion: Looking to take your visual campaign further? Alongside your short-form social strategy, you can scale your video reach and channel watch-time using our targeted YouTube music video promotion service.
Final Thoughts
Adopting the 30-Piece Content Batching Framework changes how you operate as an artist. Instead of working reactively day-to-day, you start operating like a well-oiled media machine. One single day of focused execution frees up the rest of your release cycle so you can focus on what truly matters: making great music and engaging with your growing fanbase.