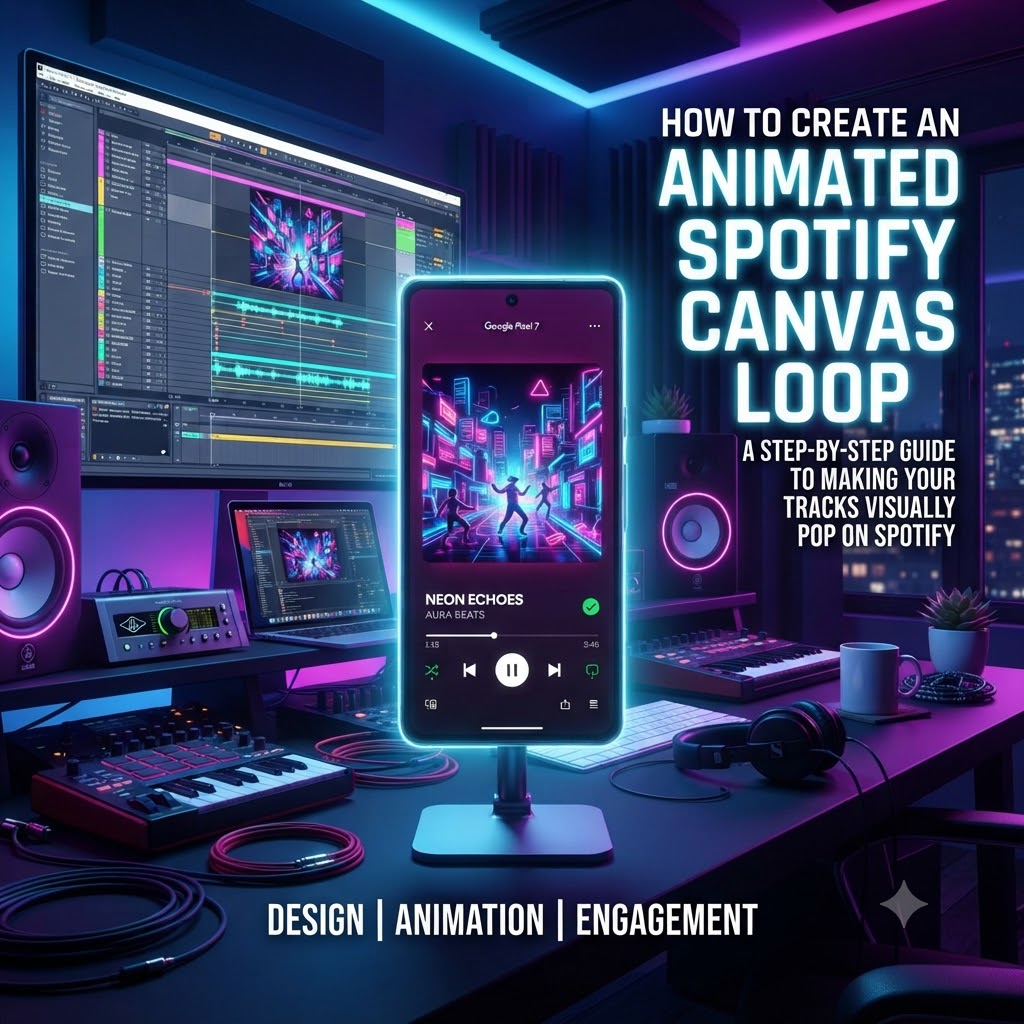
The Ultimate Guide: How to Create an Animated Spotify Canvas Loop in Canva or After Effects
If you’re an independent hip-hop artist, producer, or audio engineer grinding to make waves in the streaming ecosystem, you already know that getting people to click play is only half the battle. Keeping their attention is where the real game is won.
Think about your own listening habits for a second. When you pull up a track on Spotify and open up the full-screen player, what catches your eye first? It’s that looping, vertical video playing in the background—the Spotify Canvas.
Data shows that tracks with an active, custom-designed Canvas get shared more, added to playlists more frequently, and drive way more profile visits than tracks stuck with static album art. It’s essentially a mini music video running on a loop right in the palm of your fans’ hands.
If you’re wondering how to level up your visual branding without breaking the bank on high-budget production companies, you’re in the right place. In this deep-dive tutorial, we’re going to walk through everything you need to know about crafting a mesmerizing Spotify Canvas loop using either Canva (for a fast, browser-based workflow) or Adobe After Effects (for advanced motion graphics). Let’s get into it.
Why a Spotify Canvas is Non-Negotiable for Hip-Hop Artists
In the modern music industry, visuals do the heavy lifting. Hip-hop culture is deeply tied to aesthetics, style, and attitude. When a fan throws on your new single during a late-night drive or a gym session, static album art doesn’t capture the raw energy of the track.
A well-crafted Canvas acts as a mood board for your music. Whether it’s a gritty, high-contrast loop of a New York street at night, a spinning 3D logo, or a pulsating abstract graphic, it gives listeners an immersive experience that deepens their connection to your brand.
Before you fire up your editing software, however, you need to play by Spotify’s strict rulebook. If you ignore these technical requirements, your upload will get rejected instantly.
Spotify Canvas Specs: The Rules You Can’t Ignore
Spotify keeps things tight to ensure the mobile app runs smoothly for millions of users worldwide. Keep these dimensions and guidelines locked in your mind before you start designing:
-
Resolution: Exactly 1080 x 1920 pixels. You’re working with a vertical 9:16 aspect ratio (the same size as an Instagram Reel, TikTok, or YouTube Short).
-
Duration: Between 3 and 8 seconds long.
-
File Format: High-quality MP4 file.
-
The Golden Rule (What to Avoid): Absolutely no promotional logos, website links, or social media handles. Spotify has a zero-tolerance policy for URL text or “Stream Now” call-to-actions inside a Canvas. Keep it clean, atmospheric, and purely artistic. Furthermore, avoid awkward vocal lip-syncing mismatches; because the video loops endlessly, mismatched lip movements can quickly look glitchy and unnatural.
Step-by-Step Tutorial: Building Your Loop in Canva
If you don’t have a background in professional motion design or expensive Adobe subscriptions, Canva is your best friend. It’s fast, incredibly intuitive, and packed with enough stock elements and animation effects to make a killer looping visual.
Step 1: Set Up Your Project Resolution
Log into Canva and click on “Create a design.” Select custom dimensions and type in 1080px by 1920px. Alternatively, you can search for “Instagram Reel template,” which automatically locks in the correct 9:16 vertical aspect ratio.
Step 2: Import Your Raw Visuals
Drag and drop your core asset into the workspace. This could be:
-
A short, high-energy video clip from your latest studio session.
-
A 3D rendered graphic or animated logo loop.
-
A moody background texture (think gritty concrete, smoky overlays, or vintage film grain) that fits your album’s theme.
Step 3: Trim the Fat (Keep It 3 to 8 Seconds)
Use Canva’s timeline trimming tool at the top of the video editor to cut your clip down. Remember, your Canvas cannot exceed 8 seconds, and 4 to 5 seconds is usually the sweet spot for a seamless, hypnotic loop.
Step 4: Layer on Effects and Animations
Take advantage of Canva’s built-in text and graphic tools—just remember to leave out any banned website URLs or spammy text! If you want to add a title like your song name or artist name subtly, keep it clean. Apply entry and exit animations like “Fade” or “Scale” so the loop blends back into itself smoothly without a harsh jump cut.
Step 5: Export as an MP4
Once you’re happy with how the loop flows, hit Share > Download, select MP4 Video as your file type, and download it straight to your computer.
Step-by-Step Tutorial: Building Your Loop in Adobe Effects
If you want absolute control over keyframes, particle effects, glitch overlays, and color grading, Adobe After Effects is the industry standard.
Step 1: Create a New Vertical Composition
Open After Effects and set up a new composition:
-
Width: 1080
-
Height: 1920
-
Framerate: 23.976fps or 30fps
-
Duration: 5 seconds (well within the 3–8 second window).
Step 2: Drop in Your Footage and Motion Assets
Import your primary video asset or background layer into the timeline. Scale it up to fill the 1080×1920 frame entirely—don’t leave black letterbox bars on the sides, as Spotify requires a full bleed vertical layout.
Step 3: Create a Seamless Loop
The hardest part of a short video loop is making the cut invisible. To achieve this in After Effects:
-
Duplicate your video layer.
-
Cut the top layer in half, and swap the front and back halves on the timeline (putting the original beginning at the end and vice versa).
-
Apply a short Cross Dissolve or opacity fade where they meet in the middle to create a seamless, infinite cycle.
Step 4: Color Grade and Polish
Hip-hop visuals thrive on mood. Drop an Adjustment Layer over your composition, throw on some Lumetri Color to crush the blacks, add a cool cinematic teal-and-orange tint, or layer on a subtle CRT screen distortion effect to give it an underground, gritty aesthetic.
Step 5: Export via Media Encoder
Export your composition using Adobe Media Encoder. Render it as an H.264 MP4 file matched to source high bitrates to ensure your gradients don’t pixelate when uploaded to mobile networks.
Uploading Your Canvas to Spotify
Once your MP4 file is baked and ready to go, getting it live on your artist profile takes just a few clicks:
-
Head over to Spotify for Artists on your desktop browser.
-
Navigate to your music catalog and select the specific track or upcoming release.
-
Click the “Add Canvas” button.
-
Upload your vertical 1080×1920 MP4 file, preview how it looks on a simulated mobile screen, and hit submit.
Within a few hours, your new visual will be live worldwide, greeting every single fan who pulls up your track.
Take Your Release Strategy to the Next Level
Creating a killer Spotify Canvas is an essential piece of the puzzle, but building real momentum requires a multi-layered marketing push. Getting your music and visual assets in front of dedicated hip-hop fans and active curators can completely shift the trajectory of an independent release.
Contextual Link: Looking to push your visual identity further? Amplify your visual assets across active feeds with our hip-hop video marketing packages.
Ready to Get Your Music Heard?
Stop letting your hard work sit quietly in an algorithm. As one of the leading indie hip-hop blogs online, its HIP HOP music gives independent artists a direct lane to get noticed, build a real fanbase, and secure real exposure.
Submit Your Music Video on itsHIPHOPmusic
-
Guaranteed Submissions: Only a $15 one-time payment (this includes 1 day of free promotion straight across our official social media accounts).
-
Featured Spotlights: Secure a spot in our high-traffic ‘Featured’ sections for only $18!