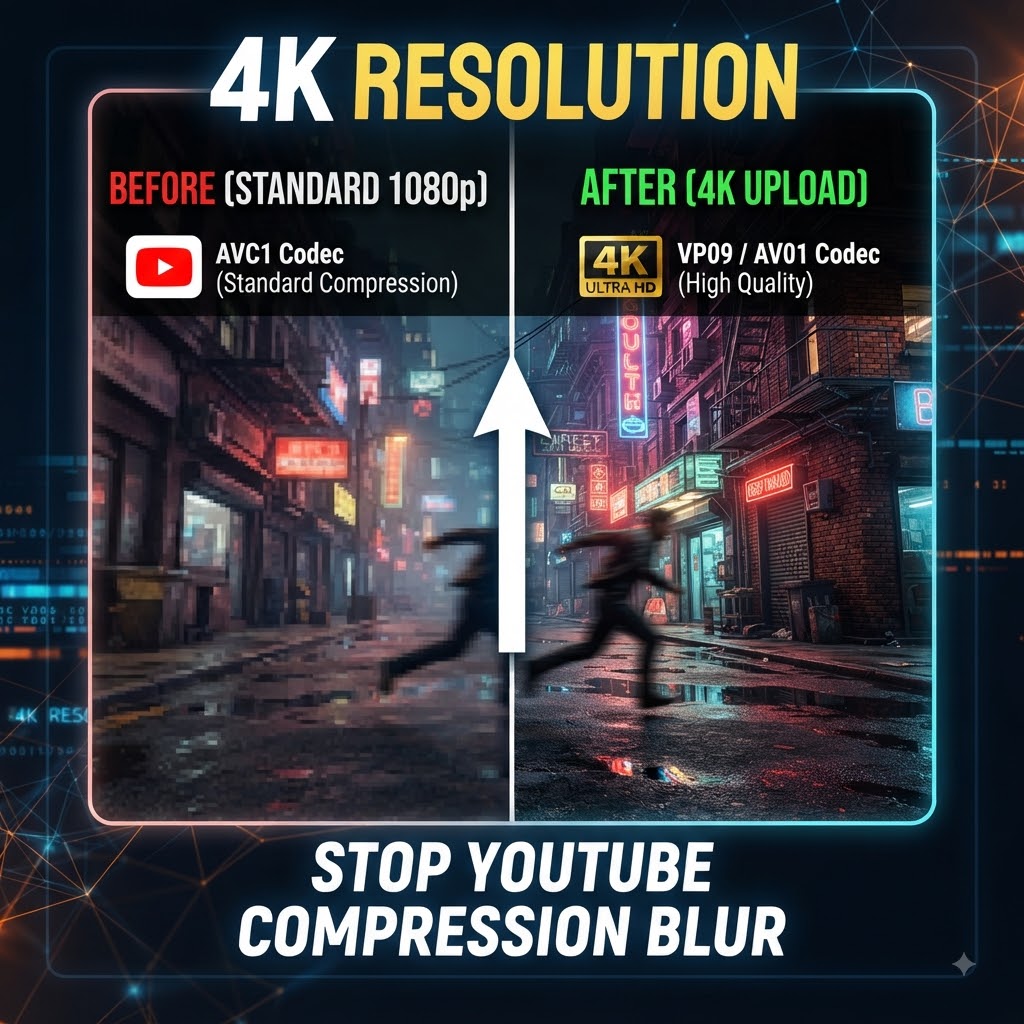
Ever spent hours capturing and editing the ultimate street vlog or urban walk, only to hit publish on YouTube and watch it turn into a muddy, pixelated mess?
Yeah, you’re definitely not alone.
It’s one of the most frustrating things about creating video content. YouTube’s compression algorithms are brutal, and fast-moving street footage—think gritty asphalt, complex brick patterns, neon signs, and shifting crowds—is basically public enemy number one for video compression.
The good news? There’s a clever work-around to bypass that automatic blur. You just need to upload in 4K.
Here is the actual breakdown of why that works and how you can use it to keep your footage looking crisp.
The Codec Secret (Or How to Beat the Algorithm)
To get why 4K changes everything, we have to look at what YouTube does behind the scenes. When you upload a video, the platform compresses it using something called a codec.
Right now, YouTube basically splits uploads into two buckets:
-
AVC1 (H.264): This is the older, heavier codec standardly assigned to 1080p uploads. It compresses footage aggressively, which is why your intricate street details get smashed into blocky pixels.
-
VP09 / AV01: These are the modern, heavy-lifting codecs. They handle detail and motion infinitely better without ruining the image.
Here is the hack: YouTube automatically assigns the superior VP09 or AV01 codec to anything uploaded in 4K or higher. Even if your viewer is watching on a standard 1080p screen, forcing a 4K upload tricks the platform into giving your video a better bitrate and a cleaner compression pass.
If you want to preserve your video’s visual sharpness, then push that clean resolution through our [Insert Link].
Why Street Footage Gets Hated By YouTube Encoders
If you shoot talking-head videos in a studio with a static background, standard compression can usually get away with murder. But street videography is chaos for an encoder.
You’ve got:
-
Insane detail: Think of millions of individual bricks, gravel, or chain-link fences.
-
Constant movement: Walking shots, fast pans, and cars zooming by.
-
Complex lighting: Harsh sunlight, deep shadows, and streetlights.
When you stick with 1080p, YouTube’s encoder just gives up on those tiny details to save server space, smoothing them out into a blurry smear. Pushing a 4K file gives the encoder enough breathing room to keep that grit and texture intact.
3 Ways to Make Sure Your 4K Uploads Actually Work
-
Shoot in 4K from the jump: You can’t fake extra detail in post-production if it wasn’t captured by the sensor.
-
Export hot: Make sure your editing software is kicking out a high enough bitrate for 4K. (YouTube recommends around 35 to 45 Mbps for standard 4K).
-
Be patient: YouTube processes lower resolutions first. If your video looks like 360p garbage right after uploading, don’t freak out. Give it time to finish cooking the 4K version.
[CTA BOX]
Expand Your Video’s International Reach Don’t let language or location box in your channel. Tap into a broader, global audience and scale your content’s footprint by connecting with us today.