How to Record Studio-Quality Rap Vocals at Home on a Budget: The Ultimate Step-by-Step Guide
Let’s be real for a second. We’ve all been there: you pull up a fresh beat, the vibe is incredible, and you spend an hour writing some of your hardest bars yet. You are ready to record. But then reality hits—you don’t have a multi-thousand-dollar recording studio, an acoustic engineer on speed dial, or a massive budget to book commercial studio time.
So, what do you do? Give up? Absolutely not.
Some of the biggest independent hip-hop tracks in the world right now were recorded in bedrooms, closets, and makeshift home setups. Modern technology has leveled the playing field entirely. You don’t need an expensive room to get a professional, crisp, punchy vocal sound; you just need to know how to work with what you have.
If you want to learn how to record studio-quality rap vocals at home on a budget without sounding like you recorded inside a tin can, you’re in the right place. Let’s break it down step-by-step.
Why Your Home Recordings Might Sound “Amateur” (And How to Fix It)
Before we dive into the steps, let’s address the elephant in the room. Why do most bedroom rap recordings sound thin, muddy, or harsh?
Usually, it comes down to three things: bad room acoustics, poor microphone technique, and improper gain staging. When you record in a bare room with hardwood floors and drywall, sound waves bounce off every surface. These reflections bounce back into your microphone slightly delayed, creating a muddy, boxy phase issue that no plugin can fully clean up.
The good news? You can completely bypass this with smart room positioning and proper tracking habits. Let’s get into the step-by-step blueprint.
Step 1: Optimize Your Room Setup & Mic Placement
Location is everything when you’re tracking vocals in a non-treated room.
-
Never stand dead-center in your room: If you set up your microphone right in the middle of a bedroom, sound waves will bounce equally in all directions, creating unnatural frequencies and weird resonances.
-
Face a soft, absorptive surface: Position your large-diaphragm condenser microphone facing a walk-in closet packed with clothes, or hang a heavy moving blanket or acoustic blanket directly on the wall behind the mic.
The clothes or heavy blankets act as natural sound traps, absorbing those high- and mid-range frequencies before they can bounce back into the microphone capsule. This gives you a much drier, cleaner vocal signal right from the source.
Step 2: Set Up Your Pop Filter the Right Way
Nothing ruins a great take faster than a harsh “pop” every time you say a word starting with “P,” “B,” or “T.” These sudden blasts of air hit the microphone diaphragm directly, causing digital clipping that can shred the best vocal performance.
-
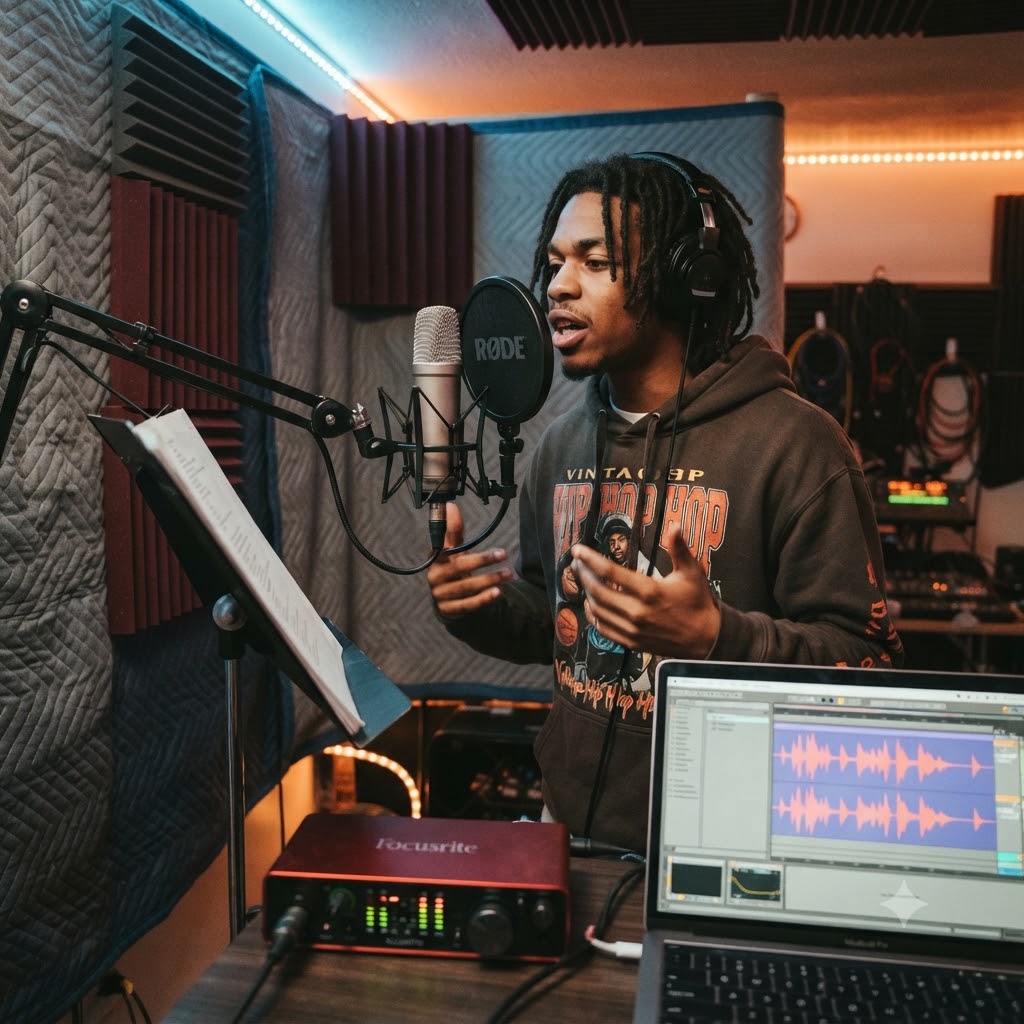
Attach a quality pop filter 2 to 3 inches away from your microphone capsule.
-
Don’t smash the pop filter right against the mic, and don’t press your mouth directly against the mesh either.
Giving that 2-to-3-inch gap allows the burst of air from your mouth to disperse safely before it reaches the fragile condenser capsule, preserving your natural vocal warmth and high-end clarity.
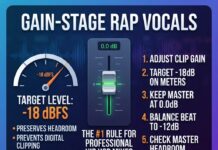
Step 3: Dial in Your Gain Staging (Don’t Clip!)
A lot of artists make the mistake of turning their audio interface preamp gain way up because they want their vocals to sound “loud” right away. This is a fast track to ruining your track with digital distortion.
-
Adjust your interface gain staging so your peak vocal levels hit between -18 dB and -12 dB while you deliver your bars at your absolute loudest volume.
-
Keep your eye on your DAW’s meter. If it’s slamming into the red, you have zero headroom.
Leaving that healthy amount of headroom ensures your digital audio workstation (DAW) and your future plugins—like EQs, compressors, and saturation tools—have plenty of room to breathe without introducing nasty digital artifacts.
Step 4: Nail Your Distance & Record Multiple Lead Takes
Hip-hop is all about energy, cadence, and delivery. If your delivery is stiff because you’re worried about hitting the mic wrong, your final track will suffer.
-
Stand approximately 6 inches back from the microphone. This distance is the sweet spot: it’s close enough to capture the rich low-end proximity effect of your voice, but far enough to keep your breaths from overwhelming the capsule.
-
Record 3 full lead vocal takes from start to finish.
Don’t stop to punch in and fix minor slip-ups mid-verse. Rap your entire verse three separate times straight through. Keeping that unbroken momentum helps you maintain a natural, authentic flow and consistent emotional intensity across the board.
Step 5: Comp Your Master Lead Track
Now that you have three raw, continuous lead takes, it’s time to play producer and build the ultimate version.
-
Comp (combine) the absolute best phrases, most energetic deliveries, and tightest rhythms from each of your three takes into one cohesive master lead vocal track.
-
Zoom in and clean up the dead space, sniffs, and heavy breaths between lines so the track stays tight, rhythmic, and professional.
When you layer your main comp with a few well-placed double tracks on the hook or background ad-libs, your bedroom recording will suddenly start sounding like a commercial release.
What’s Next After the Mix?
Once you’ve finished recording and mixing your track, the hardest part of the independent grind begins: getting honest, objective feedback. Before you push your music out to streaming platforms, get an objective, expert review on your vocal recording and mixing quality from our senior team on the hip-hop music review blog.